Two households can own the same stove, burn logs cut from the same tree and get completely different results. One gets a bright fire, clear glass and a couple of hours of real heat from three splits. The other fights a smouldering heap, scrapes tar out of the flue and wonders why the room never warms up. The difference is rarely the appliance. It is the wood, the way the fire is built and how the air is managed once flames appear.
Dry wood comes before every other skill
No clever fire-lighting trick rescues wet wood. A log holding a lot of water forces the fire to spend its energy boiling that water off rather than burning the wood itself. The flue stays cool, combustion is incomplete, and you get smoke, tar and very little heat in return. Everything else in this guide assumes you are burning wood with a moisture content below roughly 20 per cent, which is the widely accepted threshold for domestic stoves.
Get that right and the rest becomes much easier. Get it wrong and you will be cleaning the glass every week and booking the chimney sweep more often than you would like.
Choosing and storing wood that will actually burn
Seasoning happens with time and air, not with sunshine alone. Split logs need moving air around them for months, and dense hardwoods such as oak need longer than softer woods like birch or ash. Kiln-dried logs take the guesswork out of it, and any supplier selling properly dried wood should be able to tell you when it was split.
- Ask about the split date, not the felling date. Wood dries from the outside in, so a log split last month is still wet in the middle even if the tree came down years ago.
- Choose the right size. Most stoves burn best on splits around 75–100mm across. Oversized logs smoulder; tiny ones burn away before they have given you any heat.
- Stack it properly. Criss-cross the logs off the ground, leave the sides open to the wind and cover only the top. A tarpaulin wrapped around the whole stack traps moisture in.
- Keep indoor stock small. A day's worth of logs beside the stove is convenient. A week's worth is a pile of fuel sitting next to an ignition source.
Softwoods are perfectly good stove fuel. They light easily, burn hot and dry quickly. You simply go through more of them for the same heat, which is why many people keep a mix: softwood for getting up to temperature, hardwood for the long evening burn.
Testing moisture without guessing
A basic moisture meter costs little and settles arguments. Split a log, then push the pins into the freshly exposed inside face, pushing them along the grain rather than across it. Testing the outside of an unsplit log tells you almost nothing, because the surface dries far faster than the core.
If you do not have a meter, your senses will get you most of the way there. Dry logs feel light for their size, have loose or cracked bark, show splits radiating from the cut end, and knock together with a hollow ring. Wet logs thud, feel heavy and cold, and hiss or bubble at the ends when they finally catch. That hissing is water turning to steam, and it is your heat going up the chimney.
Lighting a top-down fire
Most people pile kindling underneath and light it from below, which sends the first flames up through cold, unburnt wood. Top-down lighting reverses that. The fire starts at the top, and each layer below is heated and ignited by the one above, so smoke leaving the firebox passes through flame and burns rather than drifting up the flue.
- Clear out excess ash, but leave a thin layer on the base to insulate the firebricks.
- Open all air controls fully, and open any bypass or damper your stove has.
- Lay three or four medium splits on the base with gaps between them, arranged so air can move through the pile.
- Add two or three smaller splits on top, then a loose jenga of kindling above those.
- Place a firelighter or a little scrunched newspaper on the very top. Avoid glossy paper and never use accelerants.
- Light the top and latch the door. If your stove allows it, leave the door ajar for a minute or two to establish the draught.
- Watch the burn travel downwards. You should see flames within a minute and clear glass throughout.
The first few attempts can feel fussy. Then you notice the difference: less smoke from the chimney, more heat from the same weight of wood, and a fire that stays lit instead of collapsing.
Understanding the air controls
Stoves usually have more than one air inlet, and they do different jobs.
Primary air
Usually the lower control. It feeds the fuel bed from underneath and drives the fire hard. Open it for lighting and for reviving a dying fire, then close it down once the logs are properly alight.
Secondary air
The upper control, and the one you will use most. It supplies air above the fire to burn off the gases that would otherwise become smoke, and it feeds the airwash that keeps the glass clear. Closing this too early is the most common cause of a blackened door and a smoky chimney.
Tertiary air
On cleaner-burning stoves, a third supply is preheated and fixed at the factory. Leave it alone. If you are unsure which control is which, check the manual for your model rather than experimenting.
A flue thermometer is a cheap and useful guide here. If the needle sits low for long stretches, you are making tar rather than heat. If it climbs high and stays there, you are sending money up the chimney. Aim to run the stove in the comfortable middle band once it is established.
Refuelling and running an evening burn
When it is time to add logs, rake the embers level and open the air controls before you open the door. Add logs in a single layer with gaps between them rather than heaping them up. Leave the air open until flames are established, then reduce it gradually. The target is a fire that still shows visible flame after you have settled the air down.
The one habit worth breaking is the overnight slumber. Turning the air right down and letting a load smoulder until morning produces very little heat in the room and a great deal of creosote in the flue. If you want a long burn, load the stove properly, let it burn hot and clean for a while, then reduce the air only as far as the flames allow. A stove that is warm at 7am has usually been working efficiently, not suffocating.
Have the chimney swept at least once a year, more often if you burn a lot or have had a poor season. Fit a carbon monoxide alarm in the room and test it regularly, and never rely on smell to detect a problem. If you live in a smoke control area, check with your local council about which appliances and fuels you are permitted to burn. For anything involving installation, flue specifications or building regulations, use a registered installer rather than working from a guide.
Small habits, better fires
Good stove technique is not complicated, and none of it requires new equipment. Buy wood early and store it well. Test a split log before you trust the whole load. Build the fire from the top and keep the air open until it is genuinely burning. Then settle the stove down and let it work. Do those things consistently and you will use less wood, sweep less soot and get more warmth from every log you carry indoors.
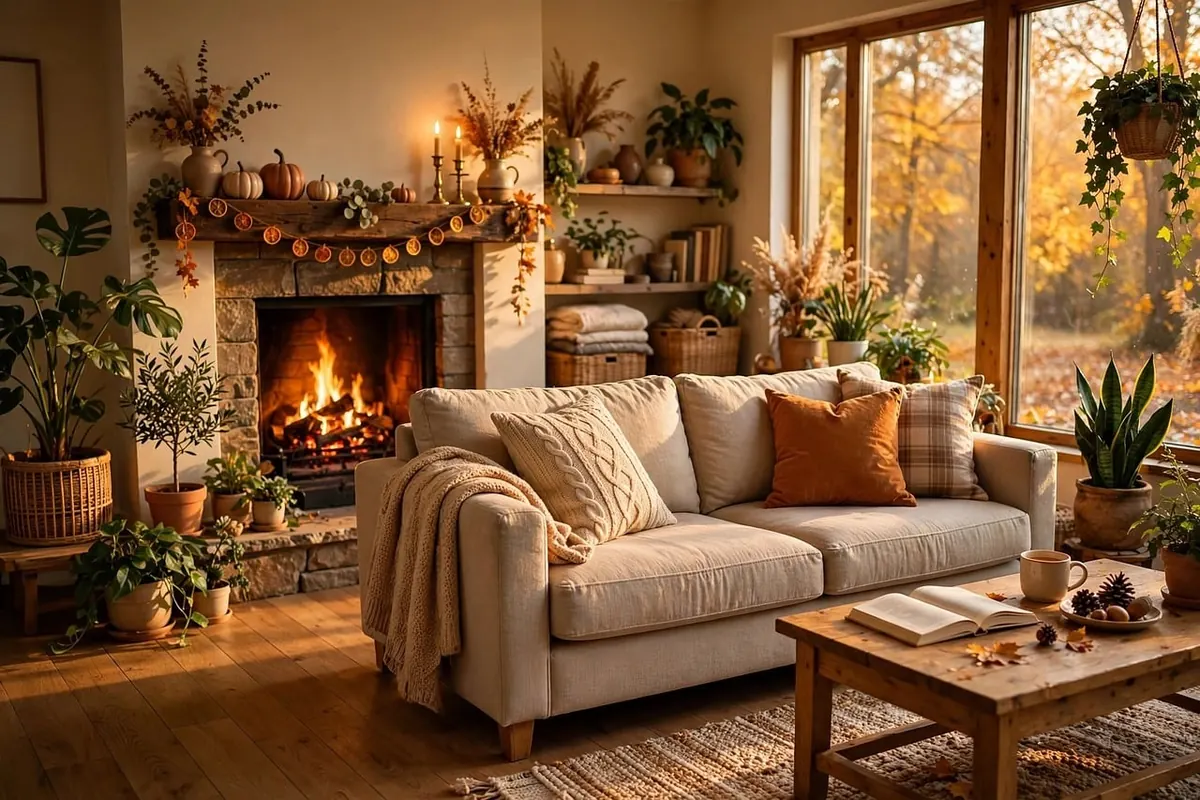
Photo: debbie7245 / Pixabay